Showing posts with label Cooking. Show all posts

December 29, 2013

Sunday Supper- Pasta Noodles with Salmon & Lemon-Dill Sauce


Sunday Supper at the Cedar House

I really enjoy slowing down after the holidays, spending more quality time with my family, at home and cooking in the kitchen. Tonight's Sunday Supper was a new recipe for us to try and we actually had all the ingredients on hand.  

The recipe was super simple and only took about 15 minutes to prepare.

Here is what you will need:

6 oz. Cream Cheese
1 Cup Plain Yogurt ( I used sour cream)
1 TB. Lemon Juice
Grated Lemon Zest (optional)
1/4 tsp. Ground Black Pepper
2 tsp. Dried Dill
2 Cups of Small Dried Pasta Shells ( I used macaroni noodles)
1 10 oz. pkg. of Frozen Peas
14 oz. can of drained Salmon

*For the sauce, blend cream cheese, yogurt, lemon juice, lemon zest, dill  and pepper until creamy and smooth.

*Boil noodles for 10 minutes or according to package directions.

*Add frozen Peas to colander and when pasta is done cooking,  pour pasta and boiling water over the peas.

*Place pasta and peas in a serving bowl.

*Add the lemon dill sauce and mix.

*Gently fold in Salmon

* Serve & Enjoy!

February 3, 2013

Cast Iron cooking

I have collected a couple of pieces of cast iron cookware over the years.
One of my favorite pieces has to be the cast iron griddle I found last summer at a garage sale.
We have used it to bake in the oven for Homemade Pizza and Biscuits...

 and  as it's intended use as a griddle on the burners to make Sunday Morning French Toast.
I may just use it as a cookie sheet too ;-)


June 17, 2012

Homemade Garlic Powder ...Grow it...Dry it...Grind it!


We had a great Garlic harvest last season. So much garlic in fact, we had plenty of garlic to fully replant the garden, share with family and friends, and supply all of our cooking needs through the Winter and Spring. With the remainder of the garlic in the pantry starting to sprout. I figured it was time to do something with it, before it was to late. Dehydrating seemed like the best choice.
The boys and I began the tedious task of peeling garlic...
It went so much faster with their help...and the conversations are always fun when we work together in the kitchen.

I am sure their wives will thank me for this someday ;-)
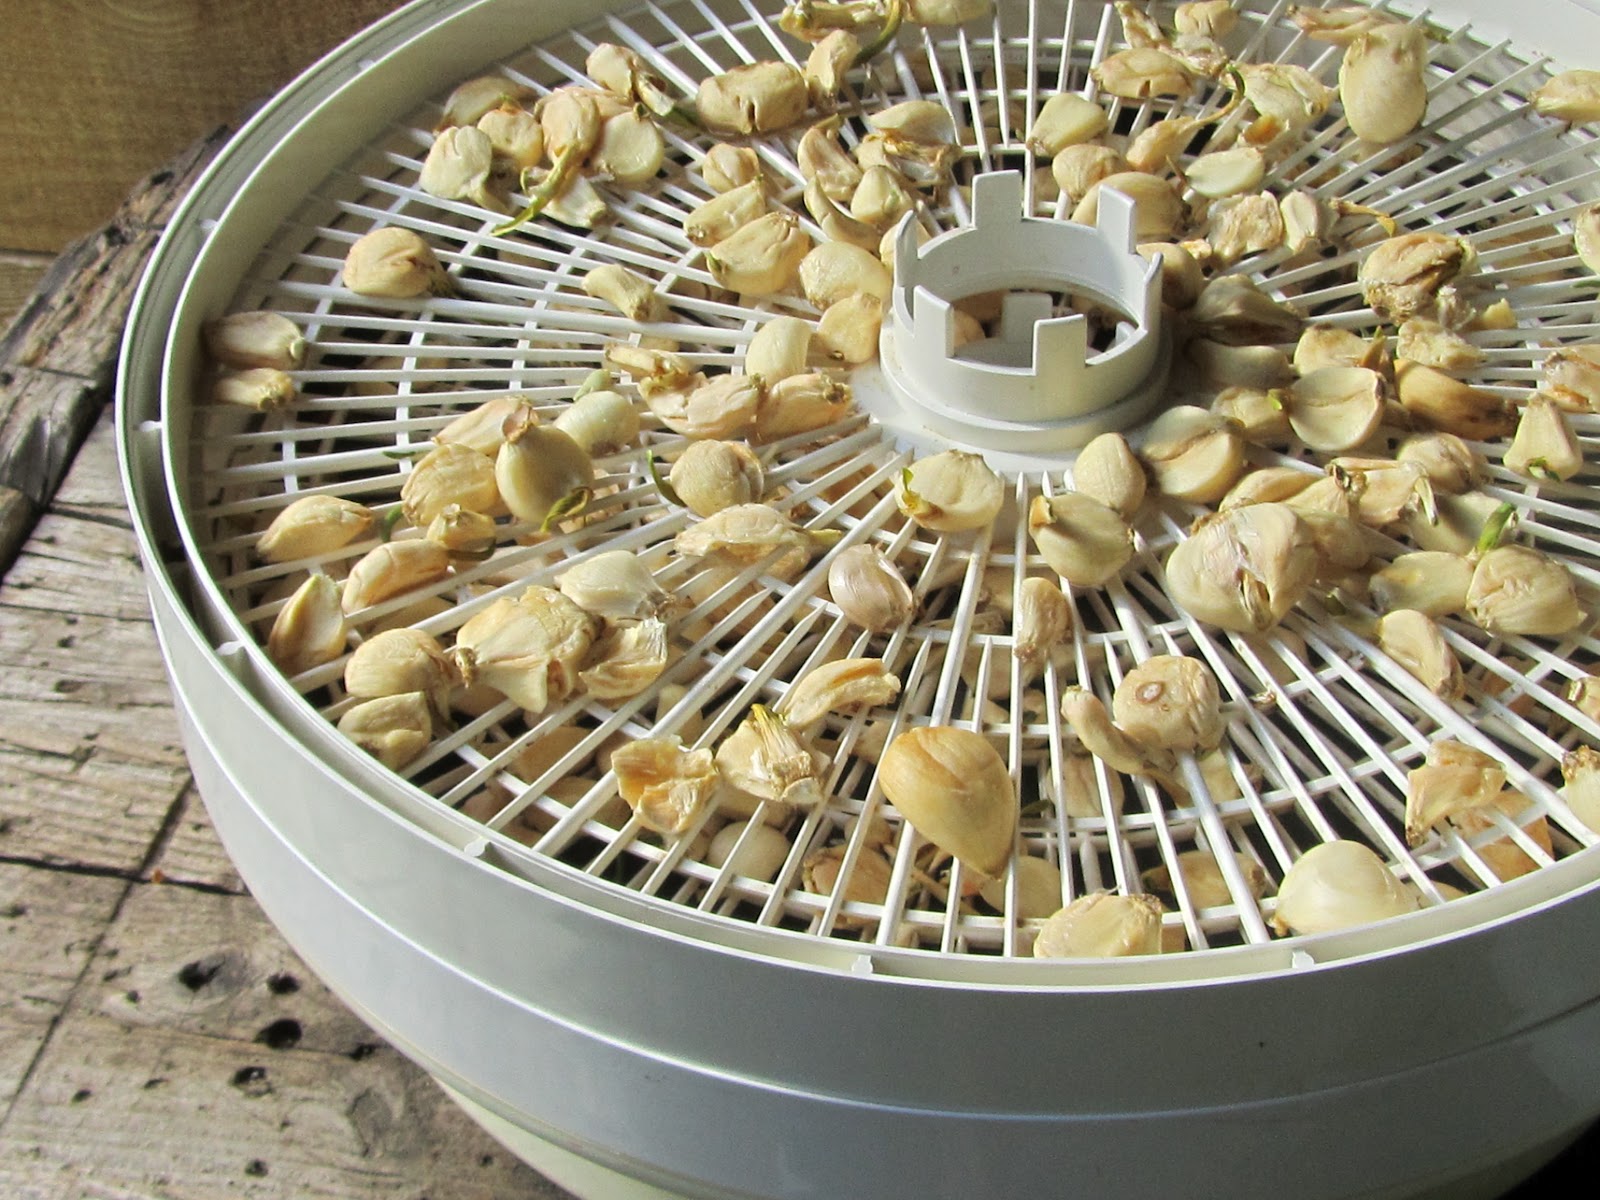
We loaded the dehydrator and set it out on the back porch, for obvious reasons.
after a couple of days in the dehydrator, it was finally dry enough to be ground down. 
 I have a cheap coffee bean grinder that I discovered, works excellent on my dried goods.

After grinding the garlic to fine powder, we ended up with 1¼ Cups.
The next thing to be thrown in the dehydrator are the fresh garlic scape's. I've never really known what to do with the scape's, as they are pretty pungent.

This time they will be dried, ground and turned into garlic powder. Garlic Salt will also be made by using 3 parts salt to 1 part garlic powder.


February 16, 2012

oodles of whole wheat noodles

This summer I found a really cool pasta roller at a garage sale..I put it away and forgot about it. I didn't feel like I had the time to make noodles then...and well, time just kept slipping by.

That is until, a friend made pasta last week and I remembered that  I still needed to try out my pasta roller. Remembering where I put the roller was the hardest part of making the noodles :-)

This hand written recipe accompanied the pasta roller and figured I would give it a shot!


4 C.Flour ( I used half white & half whole wheat flour)
1  tsp. Salt
2 Eggs
2 Tbs. Oil
1  C. Warm Water


I didn't have a problem with the dough sticking. I was pretty heavy handed with the flour.


The roller was easy and fun to use....


Why have I not done this sooner?

I hung the noodles over the back of our kitchen chairs to dry...


Not glamorous, but it got the job done!


 Can you tell I had a big helper?

Tilly, our little Yorkie, sure had fun playing in the flour that hit the floor :-) Her little beard was like a vacuum cleaner.

August 31, 2011

Zesty Zucchini Bread

Tis' the season for us to be buried up to our eyeballs in Zucchini. If you grow zucchini, you know exactly what I am talking about.

We eat what we can fresh and the rest is shredded, measured and packed away in the freezer for winter meals.

Of course... we make lots of zucchini bread too!

Here is a favorite recipe of ours at the Cedar House. We have tried many Zucchini bread recipes in the past. This remains our favorite ;-).


2 Cups Finely Shredded Zucchini
2 Cups Sugar
2 Farm Fresh Eggs
1 tsp. Lemon Extract
1 tsp. Almond Extract
1 tsp. Ground Nutmeg
1 tsp. Ground Ginger
1/2 tsp. Salt
1/2 Cup Cooking Oil
Zest and freshly squeezed juice from 1 Lemon


Combine all ingredients in your favorite mixing bowl and set aside for 10 minutes to allow the zucchini to sweat out


In another mixing bowl combine the following...

3 Cups Flour
1 tsp. Baking Soda
1 tsp. Baking Powder


Mix dry ingredients thoroughly and then add to wet ingredients.


I stir by hand just until mixed...No need to overwork the batter!


Pour batter equally into two bread pans prepared with a non stick spray


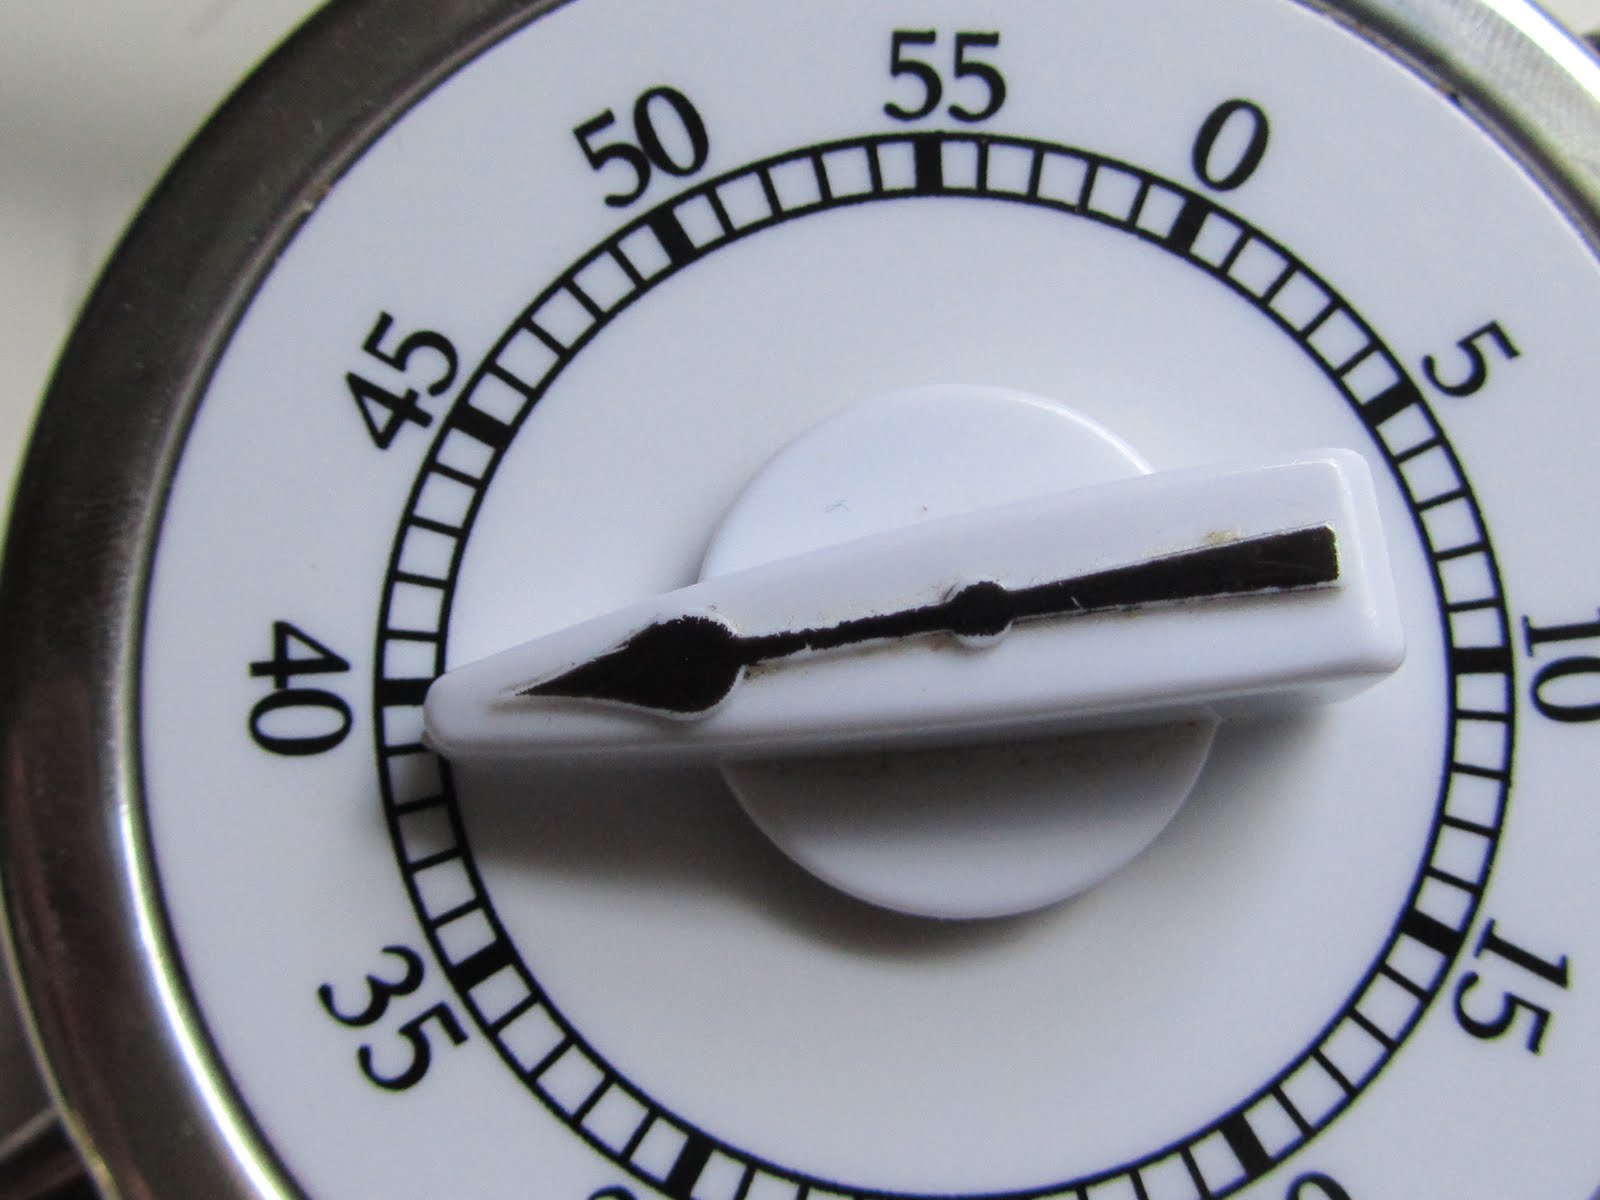
Bake in preheated oven at 350º for 45 minutes ( My ancient oven cooks a little hotter so I set my timer for 40 minutes) until center is done.


Pull golden loaves from the oven and cool on wire racks for 10 minutes and then release from pans and thoroughly cool.


After loaves are cool place in sealed bread bags and place in refrigerator. We have found this holds in moisture and the bread will slice up beautifully.

If you decide to try it out...

We hope you enjoy it as much as we do!


August 24, 2011

As always... I have the best intentions of harvesting everything from the garden on time.

Intentions to be a...Green Thumb Gardener Extraordinaire!

Ha!

Those who know me, know that just isn't the case!
I do make mistakes quite frequently.

Hence is the case where I didn't harvest the green onions for...hmmm...forever!

They were much to HUGE to really do much with and I didn't really think the kids wanted to eat them every night for the next two weeks.


So, I pulled out my handy dandy food dehydrator and my sharpest kitchen knife and went to work in my very own version of a chop shop.

((O.k. note to self...when you let green onions grow to epic proportions and then decide to harvest them all at once... you will be crying like a baby))

I didn't want to freeze the onions and then have them turn to a slimy nasty mess when thawed. Dehydrating was my best option.

They turned out FABULOUS!


I now have a gallon of dried green onions in my pantry to add to soups and stews this winter when the garden has long been forgotten beneath a thick blanket snow.


although I dried a couple things from the garden last year, dehydrating is still fairly new to me. I did put my dehydrator outside so the house didn't smell like an onion factory!

February 27, 2011

Buttermilk Pie ???

Today I posted on my face book that I had a buttermilk pie in the oven. I ended up with a couple of responses with...What the heck is Buttermilk Pie?

Funny ;-)

Well, to be honest this was my first time making it...and before today, my first time eating it! I got the idea from a very old cook book that goes with my old Home Comfort Cook stove.
It sounded very old-fashioned and interesting. It's a snow day, so why not make it today.


I do not normally have buttermilk in the house and the last time I even remember drinking it, I was probably around 5 years old. My Grandpa Baker let me have a sip of his and I could have sworn he was crazy for drinking sour milk...I wasn't impressed...to say the least!

Turns out the pie has sort of a custard type texture, it is sweet and tastes nothing like Buttermilk.

Here is the recipe I used...

Buttermilk Pie Recipe
1 unbaked Pie crust in a 9" pie plate
1/2 cup butter
1 cup sugar
1/3 cup Brown Sugar
3 Tbs. Flour
3 eggs
1 cup buttermilk
1 tsp. vanilla


Preheat oven to 450 degrees F. Place unbaked pie crust in 9-inch pie plate.


Line pastry with a layer of foil. Bake 8 minutes. Remove foil. Bake 4 to 6 minutes more or until crust is lightly browned; cool. Reduce oven temperature to 350 degrees F.


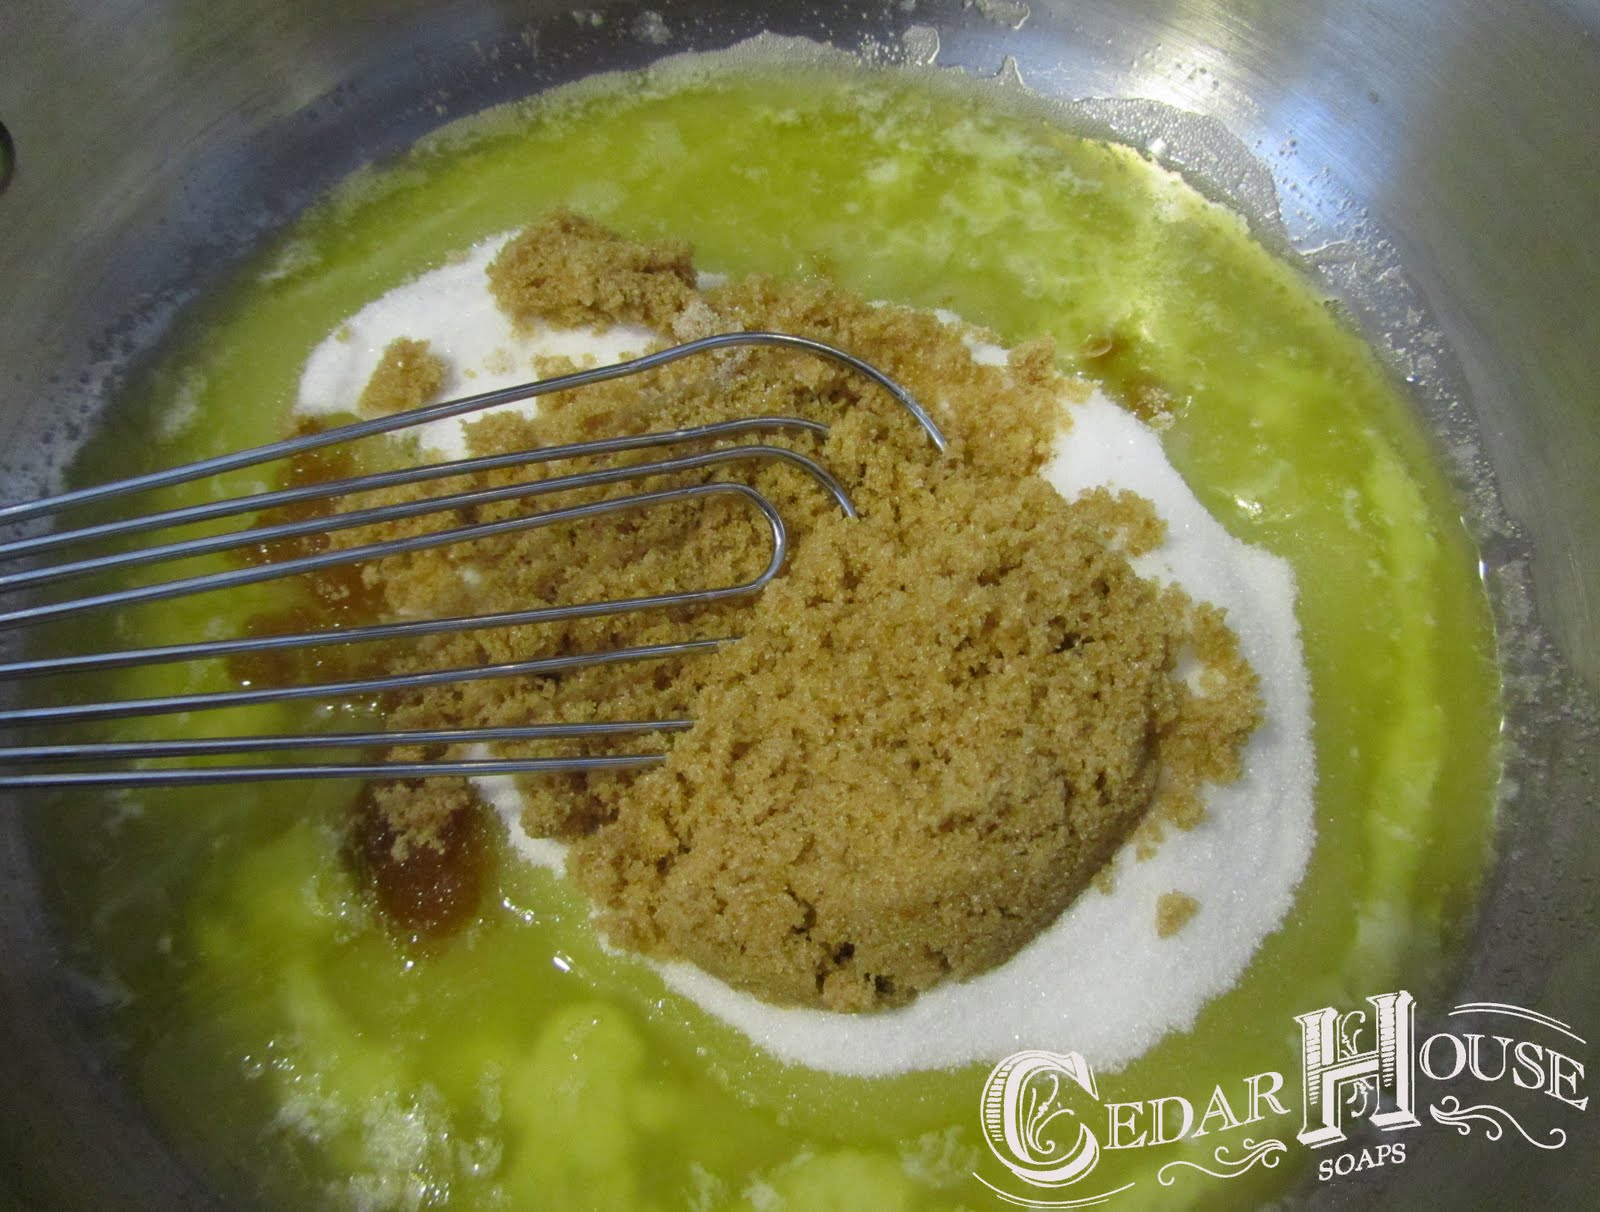
In saucepan, melt butter over medium-low heat. Stir in sugars and flour. Remove from heat; set aside.


In mixing bowl beat eggs with electric mixer on medium speed for about 1 minute. Stir in buttermilk and vanilla. Gradually whisk buttermilk mixture into butter mixture until smooth. Pour into prebaked crust.


Place pie on oven rack; carefully tent whole pie with foil that was used to line the pie shell.


Bake 50 to 55 minutes or until center is set when gently shaken.


Cool on wire rack for 1 hour.


Cover; refrigerate at least 4 hours before serving. Makes 8 servings.


The consensus is in... My Family LOVES Buttermilk Pie!

Happy Baking Day!


:-)

August 9, 2010

Sourdough update Week #1


Sourdough starter update:

After starting my sourdough starter last Sunday, I have made a batch of bread and some yummy sourdough pancakes.

So far so good ;-)

I have managed to not kill the active sourdough yet!

Next up....Sourdough oatmeal cookies.

August 1, 2010

Sourdough Bread Starter


I have been wanting to start a batch of sourdough starter for sometime.

Today seemed just as good as any to start!

I looked through the pages of my cookbooks and decided to just go for it.

I love making bread but the commitment of keeping the starter alive and remembering to keep it fed once a week has kept me from just doing it. My boys really love the big round loaves of garlic sourdough bread. All the more reason for me to give it a whirl!

Does anyone out there have a successful sourdough starter going? I would love to hear from you!

Here is to hoping I can keep my starter going and that my family may enjoy the goodness of fresh sourdough bread at least once a week.

Wish me luck!

February 4, 2010

On the old farm table

A great day for me to be in the kitchen today, enjoying the simple things in life!

My favorite thing about my kitchen is the Farm table that I prepare every meal on. A simple table of sorts with plenty of time worn character and charm. The table spent a good part of it's life at the Singing Heart Ranch, a local cattle farm from many years ago.

It will always hold a special place in my heart!


On the table today...Orange glazed zucchini squares


These turned out so moist and super yummy...